Ready to make medical documentation a breeze with SwiftyNote's dictation tool? Our dictation tool features an AI voice-recognition solution, promising unparalleled accuracy. Let's dive in and discover how this handy feature can revolutionize your note-taking game.
1. Launch SwiftyNote on your device.
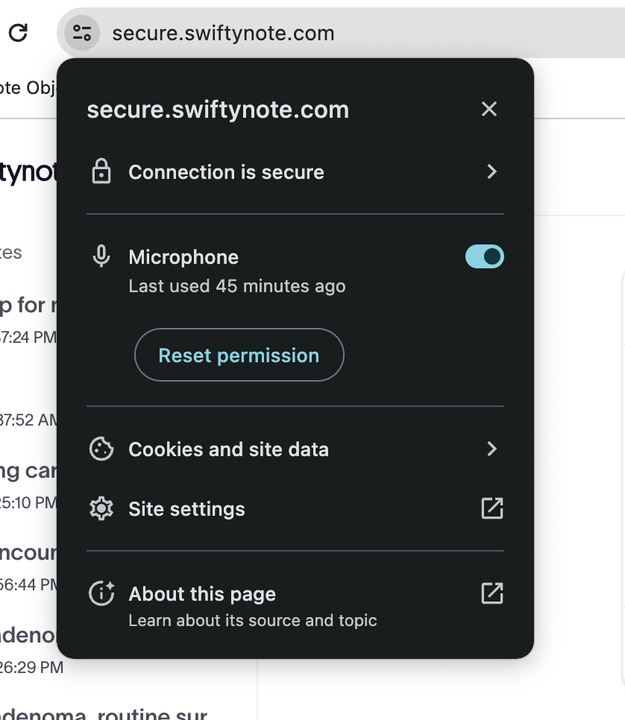
2. Ensure that SwiftyNote has access to your microphone for a seamless dictation.

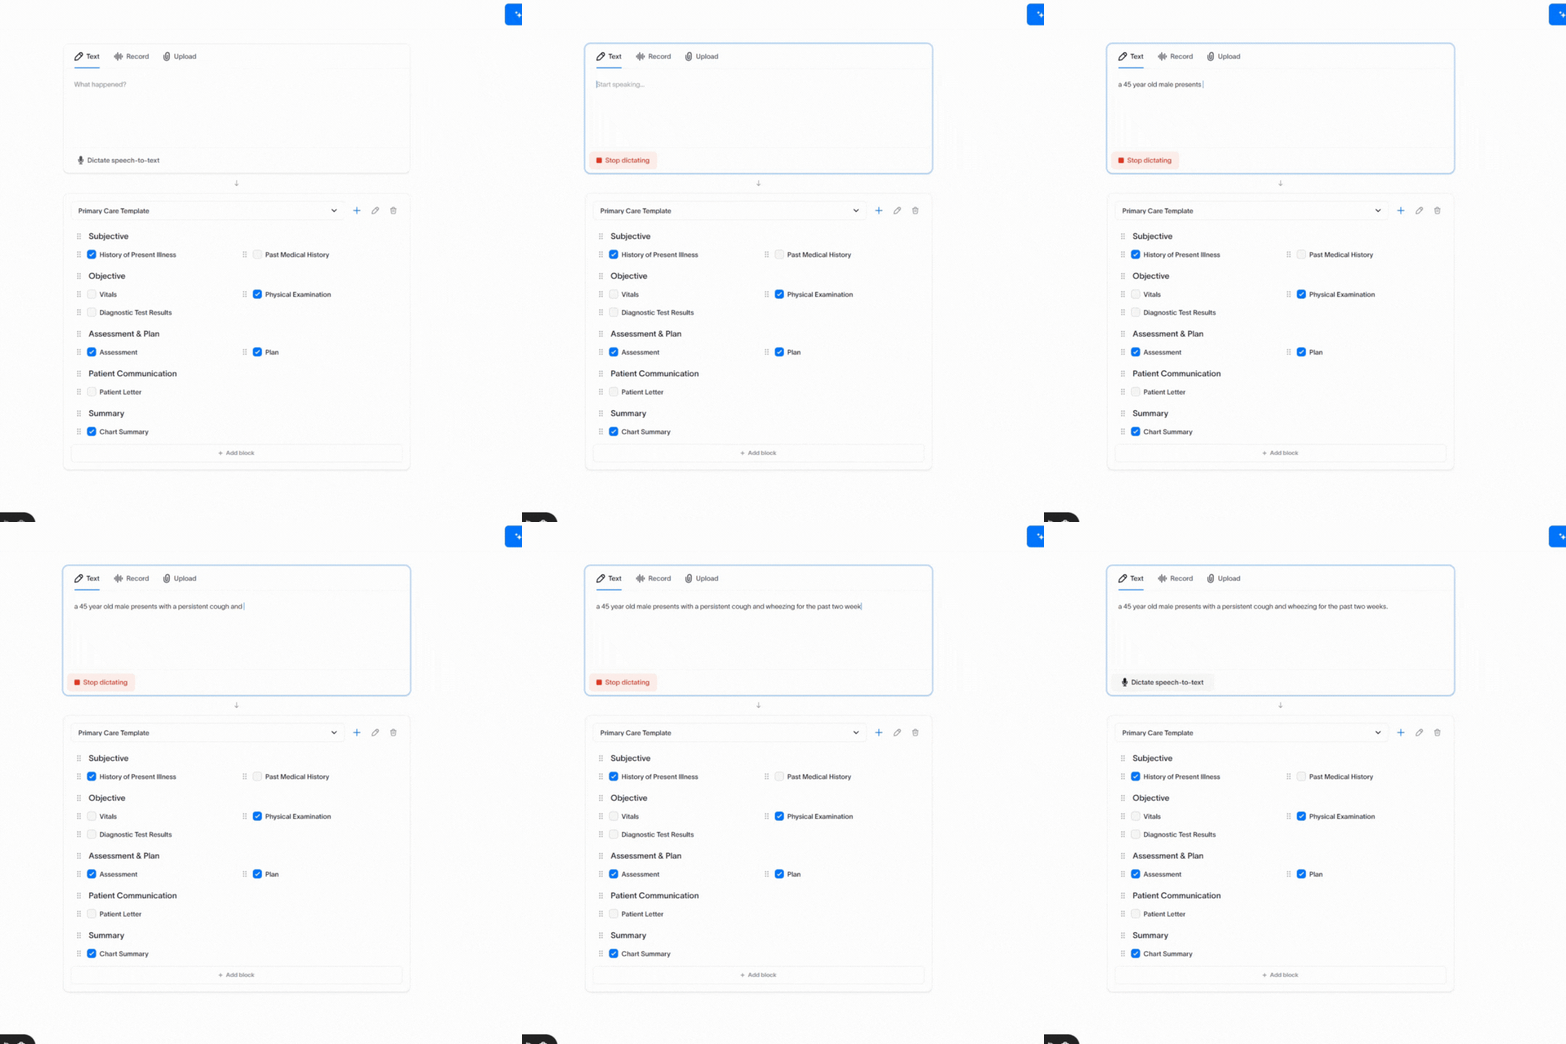
3. To start dictating, look for the microphone icon on the bottom of the input window.

4. Once you're ready, tap the microphone icon to activate the dictation feature.
5. Speak naturally, just as you would in a conversation.
As your words flow, watch them transform into text with impressive accuracy, thanks to SwiftyNote's advanced AI technology.

6. To stop dictating, simply click on the red ‘stop dictating’ button.
7. When you’re ready, Click “Write note” to generate a comprehensive session note.
Pro tips to make the most of this feature
- Speak clearly and distinctly, ensuring every word is captured accurately.
- Enunciate complex terms and medical jargon for precise transcription.
- Maintain a consistent distance of 4-6 inches from your microphone for optimal results.
- Choose a quiet environment to avoid background noise interference.
- Consider using a headset for enhanced clarity and focus.
With SwiftyNote's dictation tool, not only does medical documentation become easier, but also faster, allowing you to dedicate more time to what truly matters - your patients.
So, dive into the world of effortless dictation with SwiftyNote, and let your voice pave the way for efficient and accurate medical documentation.
Happy dictating!

